Setting Up VS Code Server Access
In this section, you’ll learn how to access the cloud-based VS Code environment that we’ll use throughout the workshop.
Prerequisites
- A modern web browser (Chrome, Firefox, or Edge recommended)
- Workshop credentials provided by your instructor
Accessing the VS Code Server
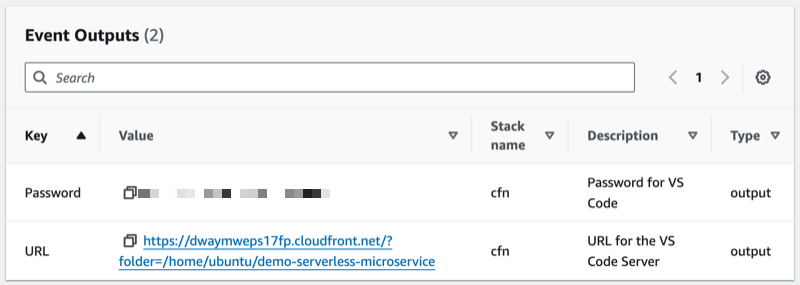
Step 1: Locate Your Credentials
- Navigate to the Event Outputs section in the workshop portal
- Look for two important pieces of information:
- VSCODEURL: Your unique VS Code server URL
- Password: Your secure access credentials
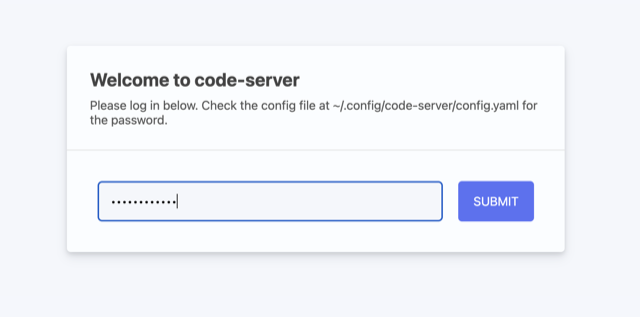
Step 2: Launch VS Code Server
- Click the VSCODEURL link in Event Outputs
- A new browser tab will open with the VS Code login screen
- Copy the password from Event Outputs
- Paste it into the password field
- Click Login
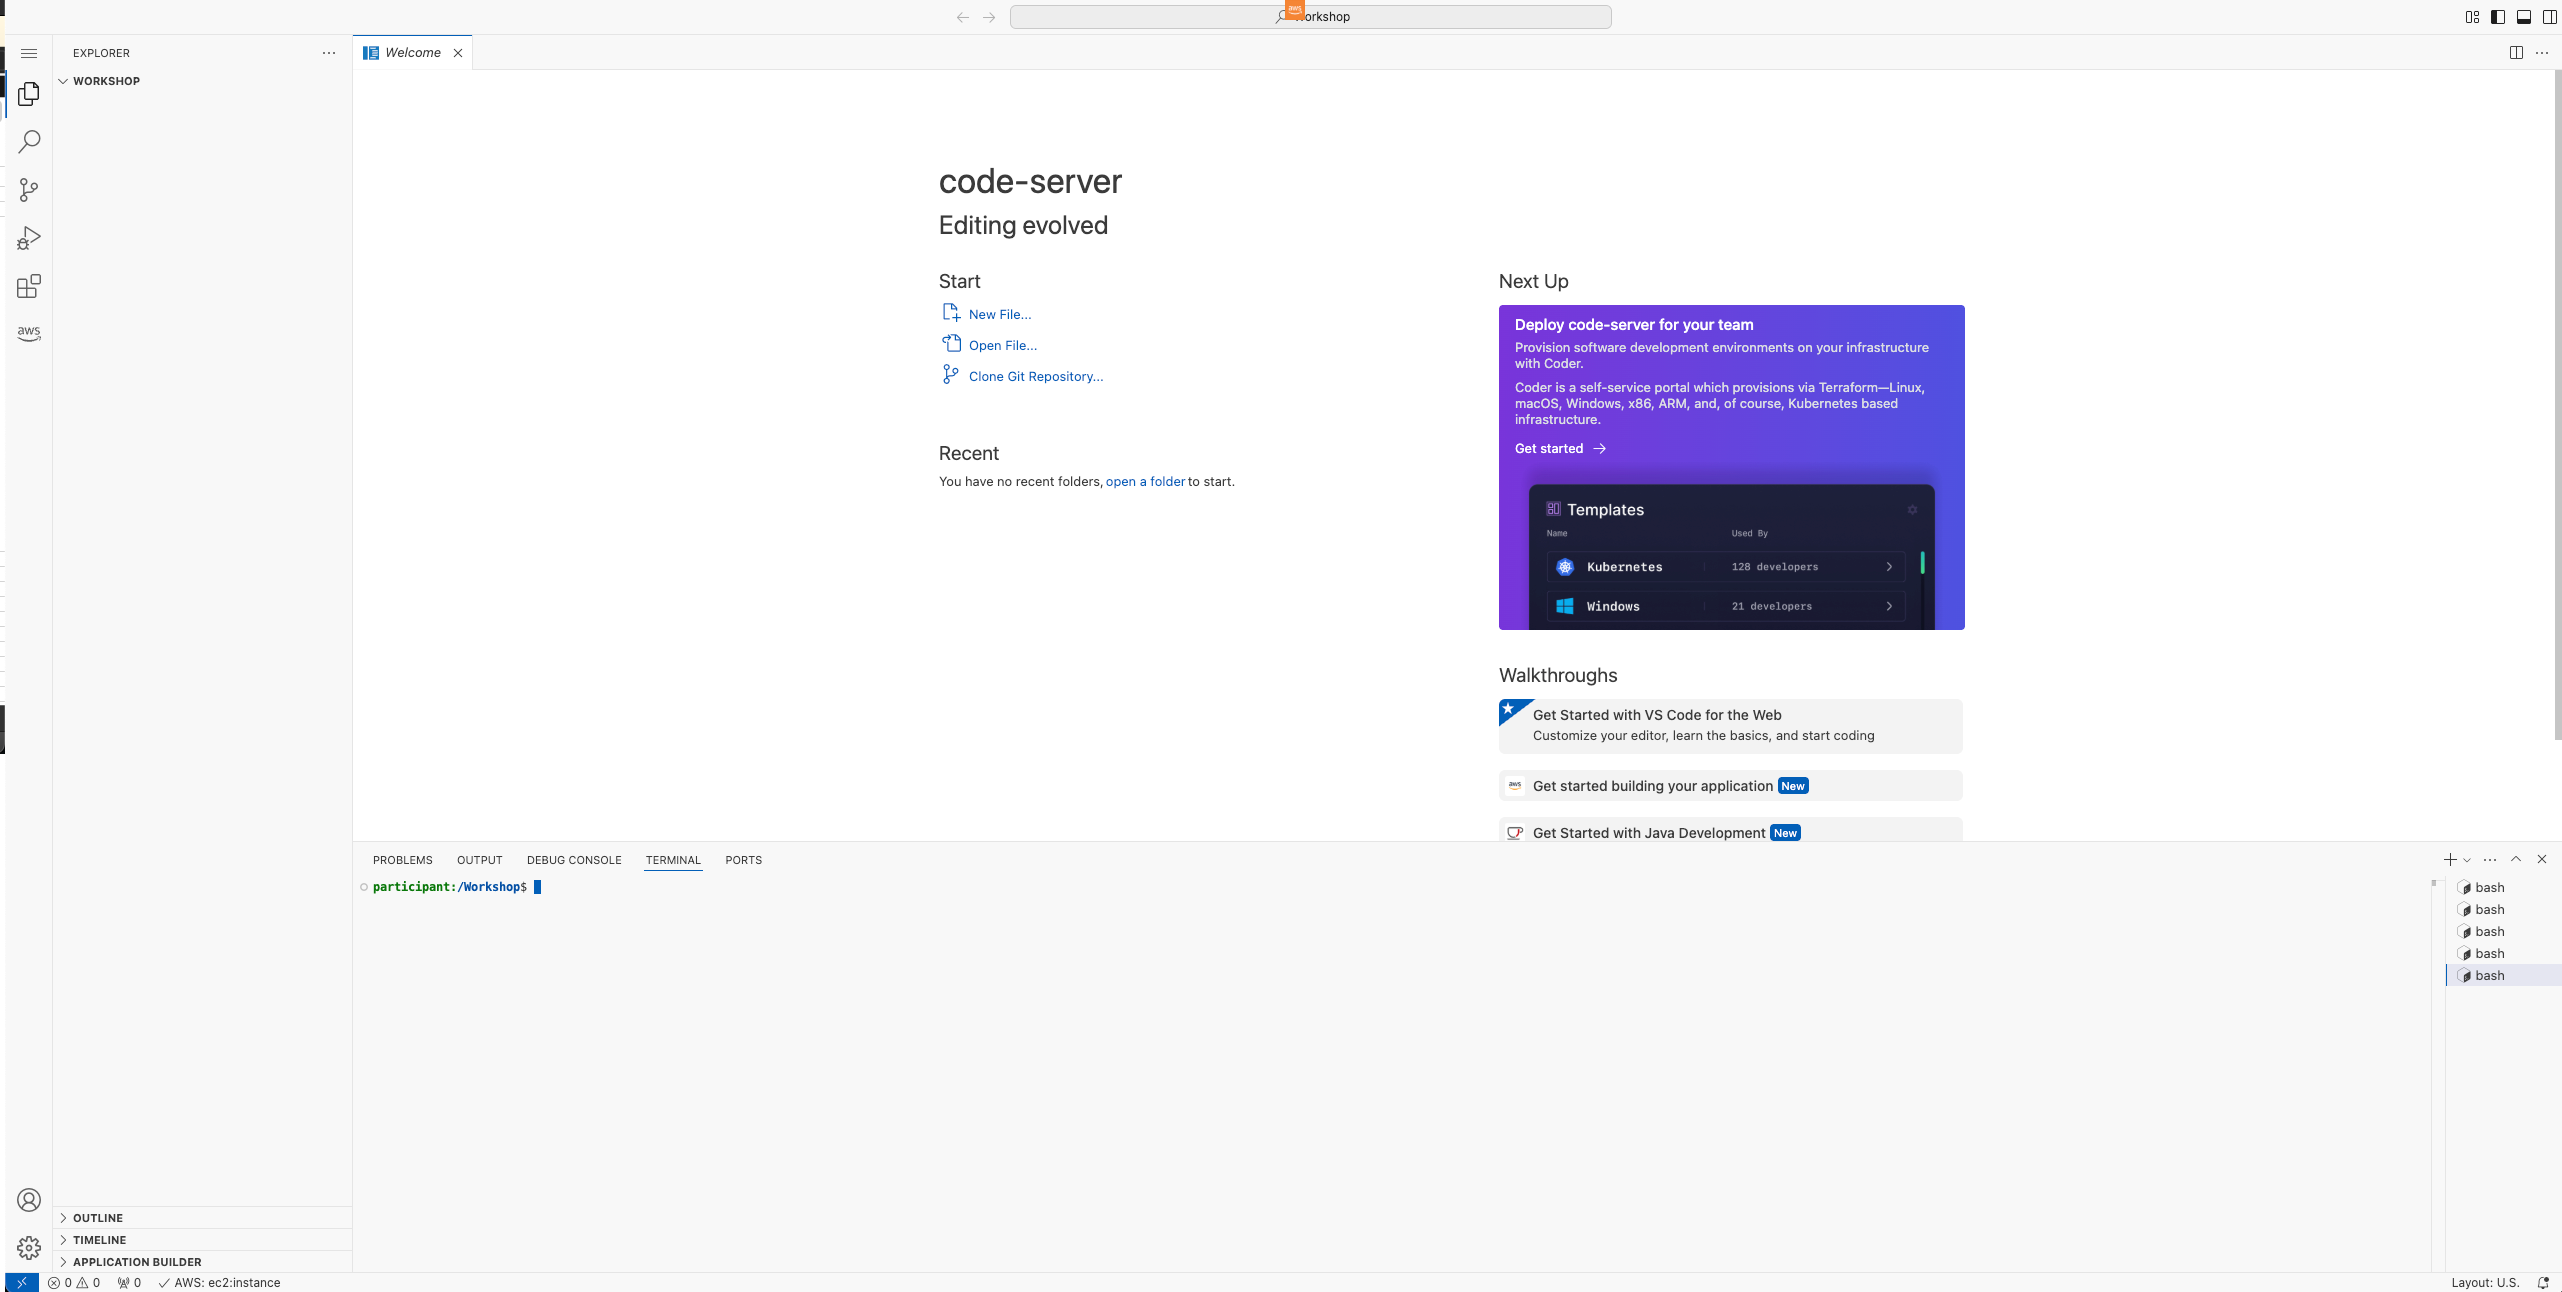
Step 3: Verify Your Connection
Once logged in, you should see the VS Code interface:
- A file explorer on the left
- An editor panel in the center
- A terminal at the bottom (if not visible, press
Ctrl + `to open it)
Important Notes
- The VS Code server is secured through CloudFront for enhanced security
- Your session will remain active throughout the workshop
- All necessary extensions are pre-installed
- Work is automatically saved but will be lost when the workshop ends
Troubleshooting
If you experience issues:
- Clear your browser cache
- Try using an incognito/private window
- Ensure your corporate firewall isn’t blocking the connection
- Contact the workshop support team if problems persist
Next Steps
✅ Verify you can access the VS Code server
✅ Test the terminal functionality
✅ Proceed to “Create a Docker Account” (skip if you already have one)
✅ Continue to the CI/CD overview section